Kite pump maintenance
HOW TO RESURRECT YOUR OLD OR MAINTAIN YOUR NEW KITE PUMP
Kite pumps are like sunglasses.
It seems like every time I invest in an expensive pair of shades, something happens to them. I’ll forget them somewhere, leave them in someone’s car, lose them on the beach, or they’ll get scratched, broken, or stolen. Meanwhile, my cheap gas station aviators stick around forever.
Kite pumps are the same way. I’ve gone through about ten – some, I purchased new, and some, I’ll admit I inherited from friends with the same forgetful tendencies as myself. For one reason or another, it’s always the same crusty old pump that makes it with me to the beach and back. I’ve had it for years, and my friends give me a hard time about it constantly, considering I work for a kiteboarding company. Having the worst pump on the beach does have its benefits, though – nobody asks me to borrow it, and nobody seems interested in stealing it.
Every time I use someone’s new, bazooka-like pump I marvel at how smooth it feels, how much less my back hurts, and how much faster I can inflate my kite. But, like the pair of $200 Ray Bans I lost last summer, I guess I just wasn’t meant to have a big baller pump. Instead, I’ll just have to do a little maintenance and get another season out of trusty old Betsy.
Here’s how to Maintain your Kite Pump:
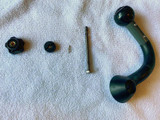
- In a clean, sand-free area, unscrew the pump cap and separate the handle and plunger from the body. If this is your first time disassembling your pump, it may take a little extra effort.
- Thoroughly clean and wipe all internal parts with a basic all-purpose household cleaner. DO NOT USE WD40, it can break down the rubber seals and gaskets and ruin your pump.
- Inspect all rubber components, gaskets, and seals. Most pump parts are non-replaceable, so if something is damaged or malfunctioning, you’ll either have to find a fix or get a new pump.
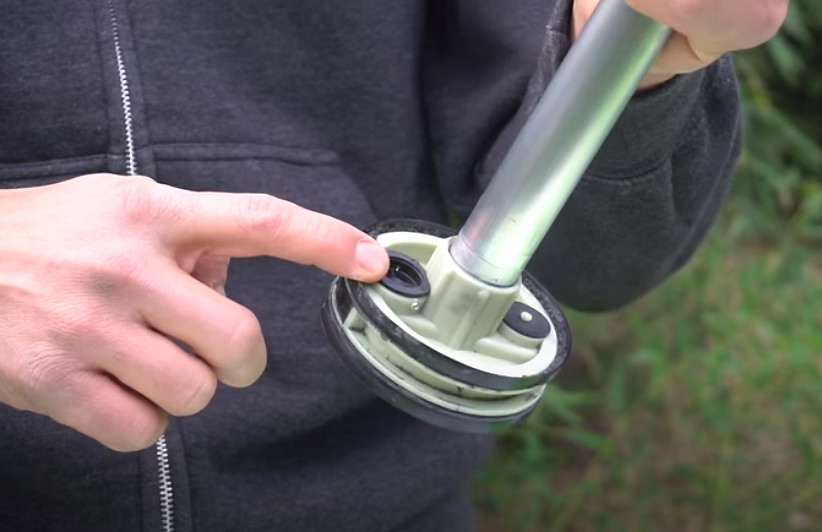
- Clean and inspect the two small in/out valves at the base of the plunger. Make sure they are securely in place.
- Make sure the plunger is tight on the shaft.
- Clean the inside of the pump body.
- Lubricate interior components and the inside of the pump with silicon spray or lithium grease.
- Reassemble, screw tight, and cycle your pump a couple times to ensure smooth operation and an even layer of lube. *Extra Hint* Leaks are most common at the base of the hose where it connects to the pump. If that is the case, you can cut the hose just above the leak, cut out the pump attachment, and re-glue it to the remaining section of hose.
- Remember, don’t use WD40! It can break down your pump’s rubber components.
Recent Posts
-
Understanding Kayak Manufacturing and Materials
Understanding Kayak Manufacturing: Rotomolded, Blow Molded, Thermoformed & Composite Kayaks C …25th Jun 2025 -
FeelFree 8 Ball Steering System setup, adjustment and cable replacement.
FeelFree 8 Ball Steering System setup, adjustment and cable replacement. Feelfree’s 8 …9th May 2025 -
How To Choose One-Lock Mast
How To Choose One-Lock Mast How to Choose the Right Hydrofoil Mast People on the beach ask me …12th Apr 2025


